
So here is a detailed explanation on how I did my horns that can be seen at the end of this post: http://rikkinainenblogi.blogspot.fi/2015/04/realisation.html
These ones I made a little different but basics are the same!
Step 1
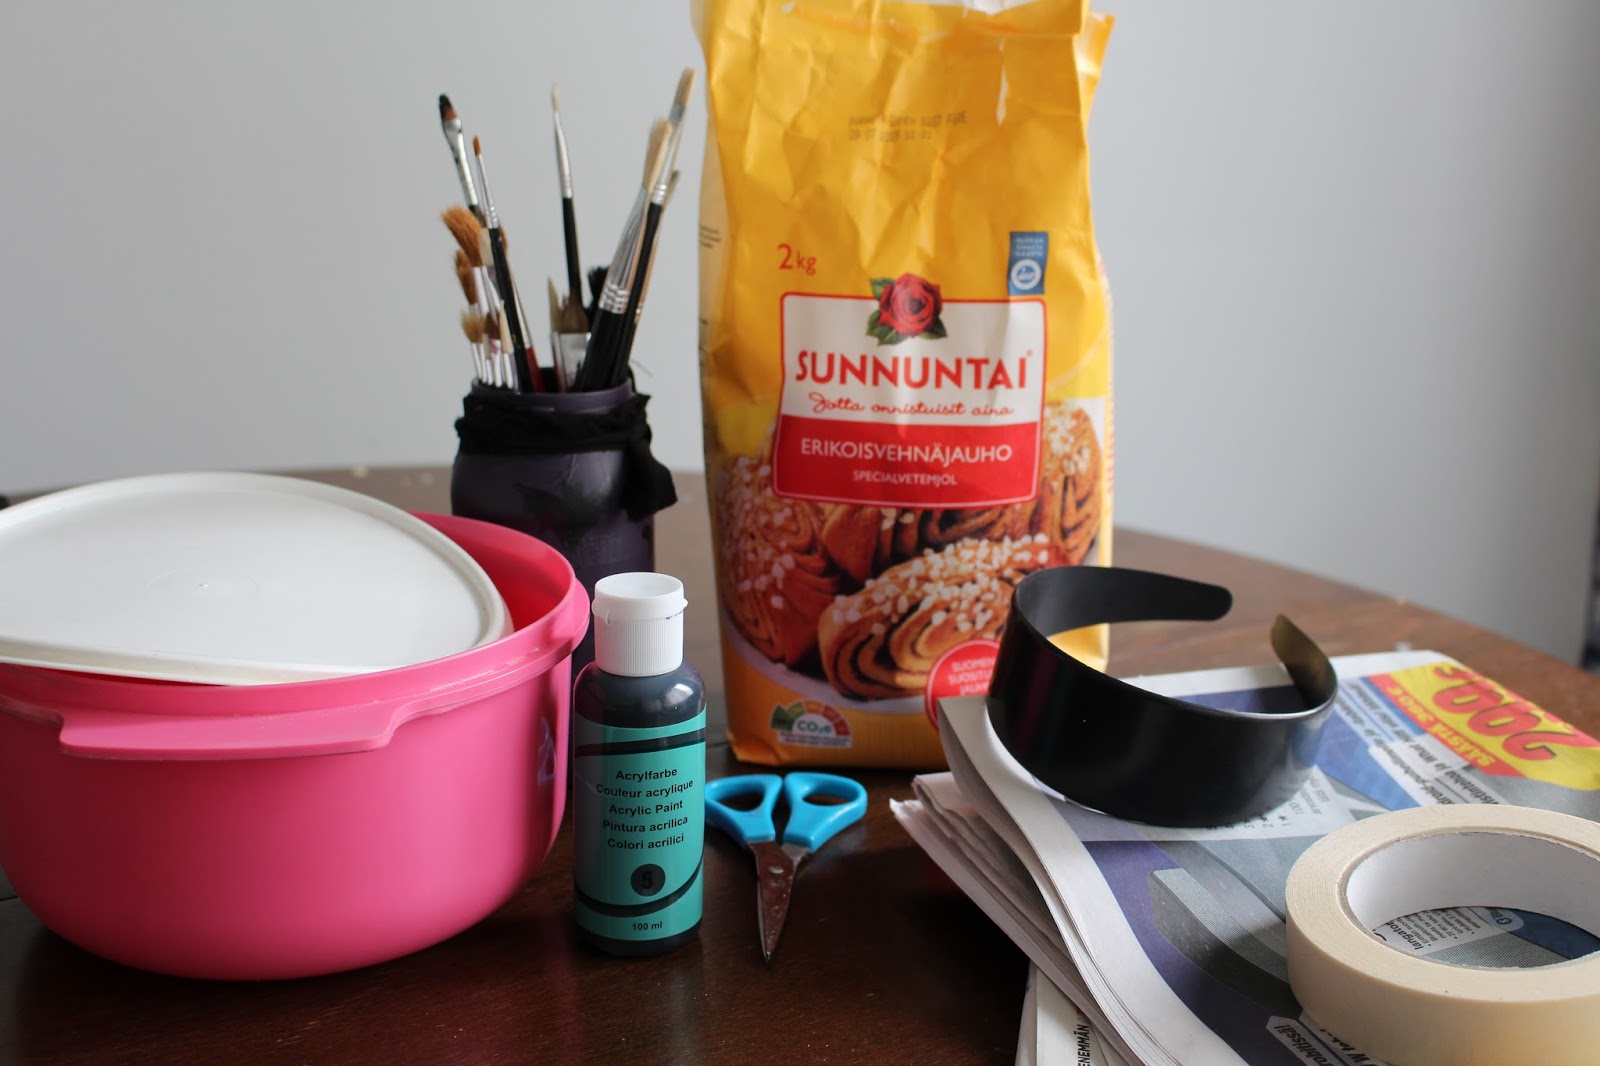
First off you'll need these things:
1. A pot you can pour your paste in.
2. paintbrushes
3. Acrylic paint (or paints) of your choice, I have chosen black.
4. scissors
5. wheat flour
6. some sort of a plain headband (Mine is from the craft store)
7. newspapers
8. masking tape

Step 2
Making the paste.
Get a cooking pot of some kind. It doesn't have to be big since you wont need that much of the paste. Now then, I have been having some problem on how much should I put water and how much flour. The recipe that I got states that you put 1 cup flour and 3 cups of water but I would suggest you at least put 4-5 cups of water in to a one cup of flour.
You can for example put 1dl of flour and at least 4dl of water in the pot. That way the amount of paste wont be huuuge. If the paste still seems too thick, add more water as you go.

Step 3
Put the pot on the stove.
Mix the flour and the water before you put the heat on.
After that you can just straight ahead put the stove on full heat.

Step 4
Mix the paste the whole time it is on the stove. It will burn if you wont.
Wait until it boils.
After is boils you can add more water if it seems too thick.

Step 5
After it has boiled, take it off the hot stove to cool off.
Don't worry about lumps.

Step 6
After the paste is not hot anymore, you can pour it in the plastic pot.
You can close it before you start the next step.

Step 7
Here's your chance to get creative, take a page or two of the newspaper and crumble it up.
With the help of the masking tape, start shaping your horns or antlers.
It does not have to be prefect.

Step 8
See how the horn sits on your headband. Try to make the bottom part as flat as you can, so will sit neatly.

Step 9
Make a pair for your horn

Step 10
Shred some of the newspaper in to a different size and length sheets.

Step 11
Don't be shy, dip your hand in the paste, it's the easiest way to get the right amount of paste on your sheets. You could also use a brush of some sort.

Step 12
Apply the paste on the both sides of one newspaper sheet.

Step 13
Start applying the sheet around the horn while smoothing it. Keep adding sheets until it is as smooth as you want.
But keep in mind that the more sheets you apply, the bigger the horn gets.
If you want to add some texture to the horn you can for example smooth it less or add long folded sheets under the top layer.

Step 14
After you have covered both of the horns, they should look something like this.
Now let them dry for some hours to make the next step easier.

Step 15
Now that they have dried a bit, the masking tape will stick better to them.
Position your horns to the headband and secure them with the tape.
Don't worry, they will be covered.

Step 16
Use the sheets and the paste to cover the tape and secure the horns to the band.

Step 17
Let the horns dry over night.
It would be best if they did not lean to anything while drying.

Step 18
After the horns are dry, take out your acrylic paint and start painting!
Remember to paint the paper on the inner part of the headband.

Step 19
After you are done painting. Place it to dry again.
If you are using acrylic paint, it should be touch dry in a couple of hours or less.
But if you want to add decoration, I recommend waiting some hours more.

Now they are done!
You can wipe the headband clean with a moist paper if there is any paste stains on it.
After that you can for example glue some fake flowers or fabric pieces or lace or anything you can think of to decorate your horns!
If you have long hair you can easily cover the headband to only show the horns, but I have shaved sides so I can't demonstrate that well. :D
There you go, if you have any questions, please comment down below and I'll be sure to answer you!
En ymmärrä tätä sarvi villitystä alkuunkaan, mutta nuo on kyllä hienot :P
ReplyDeleteKaippa se lähtenyt jotenkin maleficent elokuvasta. Itse en ole nähnyt sitä, mutta oma tykkäyseni sarvia kohtaan tulee kiinnostuksesta mytologiaan ja taikaolentoihin. Kuten succubuksiin sekä fauneihin :) Kiitos!
DeleteJee, kiitos tutoriaalista! Täällä ois vissiin kans lähiaikoina sarviaskarteluhommia tiedossa :P
ReplyDeleteNonni kiva! Toivottavasti tulee onnistuneet! :)
DeleteThank's for this tutorial. It's a great idea!
ReplyDeleteThanks! :)
Deletewhee, didnt think it was that easy! thank you!
ReplyDeleteNo problem! And good luck! ^^
DeleteAwesome! I'm going to use this tutorial! :)
ReplyDeleteThat's awesome! :) Let me know how they turn out!
Delete